Fix These 7 Common Mistakes
After leading over a hundred photography tours across the Masai Mara, patterns emerge. Not just in the landscape, the light, or the animal behaviour — but in the mistakes photographers make consistently, regardless of experience level.
These aren’t beginner errors. Some of the most technically accomplished photographers we’ve hosted have fallen into every one of them. The Mara is unlike any wildlife environment most photographers have previously shot in, and the instincts developed in forests, reserves, or national parks often need to be recalibrated for East Africa’s open savannah ecosystem.
A Masai Mara photography tour rewards photographers who understand not only wildlife behaviour, but also light direction, vehicle positioning, storytelling, timing, and communication with guides. The difference between coming home with simple sightings and coming home with portfolio-level wildlife images often comes down to a few small but important adjustments.
Here are the seven mistakes we see most often — and what to do instead.
Table of Contents
- Mistake 1: Bringing the wrong lens for the light conditions (and what to bring instead)
- Mistake 2: Being ready for the sighting but not for what comes after it
- Mistake 3: Sitting in the wrong position in the vehicle
- Mistake 4: Optimising for sharpness when you should be optimising for story
- Mistake 5: Not telling your guide what you are trying to capture
- Mistake 6: Treating every drive the same — when morning and afternoon need different thinking
- Mistake 7: Leaving without reviewing your images with your guide
- What to do differently — and how we build these corrections into every tour
- What to Look for in Masai Mara Photography Tour Packages
Mistake 01
Bringing the Wrong Lens for the Mara’s Light Conditions — and What to Bring Instead
Gear
Most photographers arrive with a heavy telephoto prime and treat it as their primary lens for the entire trip. That works brilliantly from 7am to 9am. It becomes a liability for the rest of the day.
The Mara’s light conditions change dramatically across a single drive. The mistake is packing for one condition and being caught out by the other six.
What Photographers Pack
Gear Setup | Common Choice |
Primary Lens | 500mm or 600mm prime (all day) |
Secondary Lens | One telephoto zoom |
Wide Lens | Left in the tent |
Reach Extension | No teleconverter |
What the Mara Actually Needs
Recommended Setup | Why It Matters |
Super-telephoto lens | Ideal for golden-hour close wildlife work |
100–500mm zoom | Flexibility for changing wildlife distance |
Wide zoom on every drive | Essential for landscapes and environmental storytelling |
1.4x teleconverter | Critical for cheetah photography on open plains |
The fix
We recommend a dual-body setup. Your primary body should sport a 200-400mm or 150-600mm zoom to capture distant action. Your secondary body needs a 70-200mm for environmental portraits. This versatility is a hallmark of our Masai Mara photography tour packages, as we ensure you have the right support (like beanbags and window mounts) to handle this gear effectively.
Mistake 02
Being Ready for the Sighting — but Not for What Comes After It
Readiness
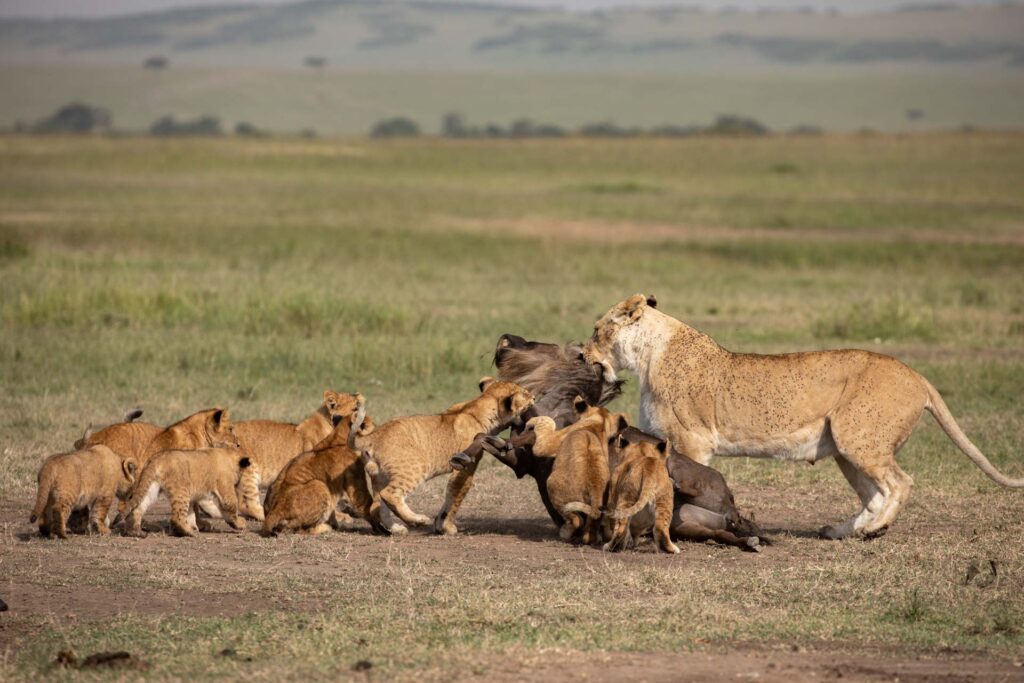
You spot the lion. Camera’s up, settings dialled, first frames firing. You nail the sighting. And then — the lion stands, stretches, and starts walking directly toward your vehicle. You freeze. You scramble. You miss the best five seconds of the encounter.
The Mara’s animals are habituated to vehicles. They walk up to you. They interact with each other right in front of you. Most photographers are trained to react to a sighting — not to anticipate what happens when the animal decides to move.
During a Masai Mara photo safari, some of the strongest wildlife images happen not during the initial sighting, but in the moments immediately after — when behaviour changes, interaction unfolds, and the animal begins moving naturally through the landscape. Photographers who stay mentally ahead of the moment consistently come home with stronger storytelling frames, cleaner compositions, and more dynamic wildlife sequences.
What to Do Instead
- Decide your reframe plan before the animal moves — if it walks left, you go to portrait. If it charges, you stay wide.
- Keep your second body or wide zoom on the seat, not in the bag. Access time matters at 1/1000s.
- Watch the animal’s ears, tail, and eyes — these signal intent 10–15 seconds before the movement happens.
- Ask your guide: “What do you think this cat is about to do?” They’ll often know. Listen to the answer.
Key Lesson
“The sighting is the beginning of the opportunity, not the opportunity itself.”
This single mindset shift changes how photographers approach wildlife behaviour throughout the Masai Mara.
Mistake 03
Sitting in the Wrong Position in the Vehicle — and Losing Shots Because of It
Positioning
Vehicle positioning in the Mara is a craft. Guide positioning is one part of it. Where you sit inside the vehicle is entirely yours to control — and most photographers get it wrong from day one and don’t correct it.
Sitting behind another photographer, or on the wrong side of the vehicle relative to the light, costs you more shots than any missed sighting. It’s silent, it’s fixable, and almost nobody talks about it.
Common Positioning Mistakes
- Always identify which direction the morning light is coming from before you get in the vehicle — your window should face into it, not away from it.
- Discuss seating with the other photographers in your group at the start of each drive. A two-minute conversation prevents an hour of frustration.
- If you’re shooting with a heavy prime, take a window seat — bean bags only work flush against the door. Centre seats mean handheld, and handheld at 600mm in a moving vehicle is a gamble.
- Rotate positions between morning and afternoon drives so the light advantage shifts fairly across the group.
Why It Matters
Positioning Factor | Impact on Photography |
Morning sun direction | Determines light quality on subjects |
Window access | Essential for bean bag stability |
Seating coordination | Prevents blocked shooting angles |
Vehicle side selection | Affects background and backlighting |
The Fix
Our guides are trained to predict animal movement. Instead of following a cheetah, we “cut the corner” to where she will be, allowing you to capture head-on shots. We also prioritize “low-angle” positioning. By getting the camera as close to eye level as possible, we create that creamy background bokeh that separates a professional portfolio from a tourist’s snapshot.
Mistake 04
Optimising for Sharpness When You Should Be Optimising for Story
Creative Vision
You come home with 3,000 tack-sharp images of animals standing still. Your technique is flawless. Your images are forgettable.
This is the most common creative mistake we see from technically experienced photographers on their first Mara visit. The Mara is a storytelling environment. The wildebeest crossing isn’t interesting because you can count the hairs on a wildebeest it’s interesting because of the chaos, the crocodiles, the fear, the scale. Sharpness is a technical floor. Story is the ceiling.
The Real Problem
Wildlife photography in the Mara is not only about detail — it is about:
- Scale
- Atmosphere
- Emotion
- Behaviour
- Tension
- Interaction
What to Do Instead
Deliberately shoot at slower shutter speeds during action sequences to introduce intentional motion blur — panning a running cheetah at 1/200s creates energy that 1/2000s kills.
Pull back wider during peak behaviour moments. The wildebeest in context of the river and the watching crocs is a stronger image than a tight crop of one animal.
Look for relationships — predator and prey, mother and cub, two lions watching the horizon together. Interaction is story.
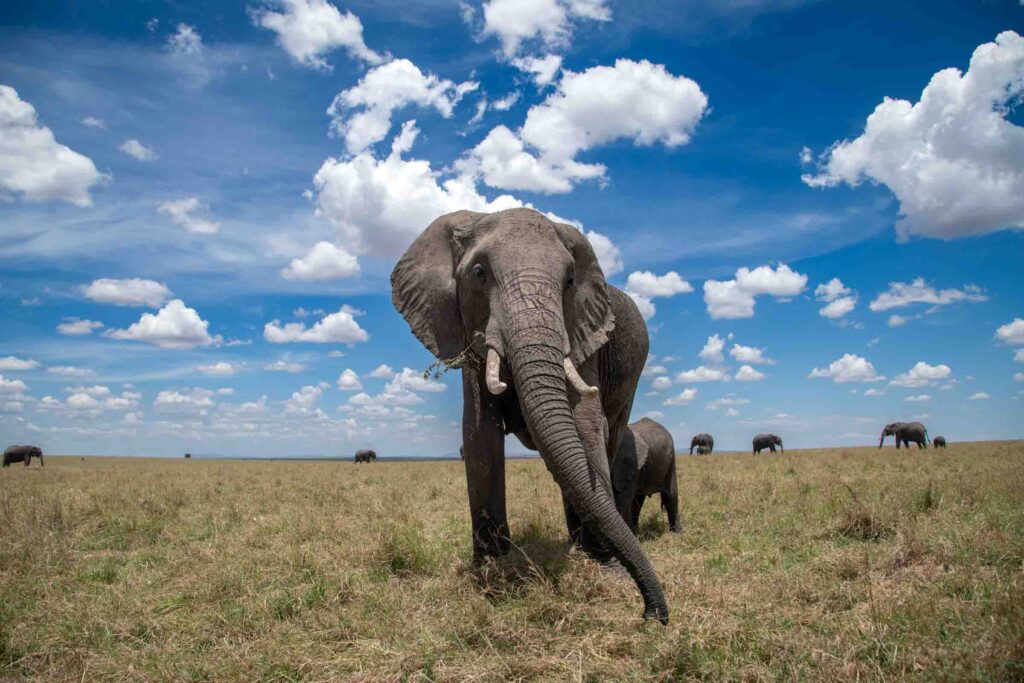
Let the landscape in. An elephant silhouette against a storm sky is worth more than a sharp, flat elephant portrait.
Examples of Strong Storytelling
- A wildebeest surrounded by river chaos and crocodiles
- A cheetah sprint with dust trails behind it
- A lone elephant beneath storm light
- Two lions watching the horizon together
Sharpness is the technical floor. Story is the ceiling.
Mistake 05
Not Telling Your Guide What You Are Trying to Capture
Communication
Your guide is not a mind reader. They know the Mara better than almost any human alive. But they don’t know whether you want a river crossing sequence, a leopard in a tree at golden hour, or a wide environmental cheetah portrait against the plains. Unless you tell them.
Most photographers arrive, get in the vehicle, and wait. The guide does their job brilliantly — and gets you to animals. But the animals may not be the animals you needed, at the light or the moment you needed them, because you never briefed the guide on your creative priorities.
What Most Photographers Do
- Sit quietly
- Wait for sightings
- React passively throughout the drive
The fix — brief your guide every single morning
Spend three minutes before each drive telling your guide: what subject you most want today, what you didn’t get yesterday that you’re still chasing, and what light condition matters most to you right now. This single habit transforms your guide from a driver into a creative collaborator.
Tell Your Guide:
- What species you most want today
- What you missed yesterday
- What lighting condition matters most to you
- Whether you want portraits, behaviour, or environmental shots
Example Briefs
- “I want a cheetah hunt sequence — can we prioritise the open plains this morning?”
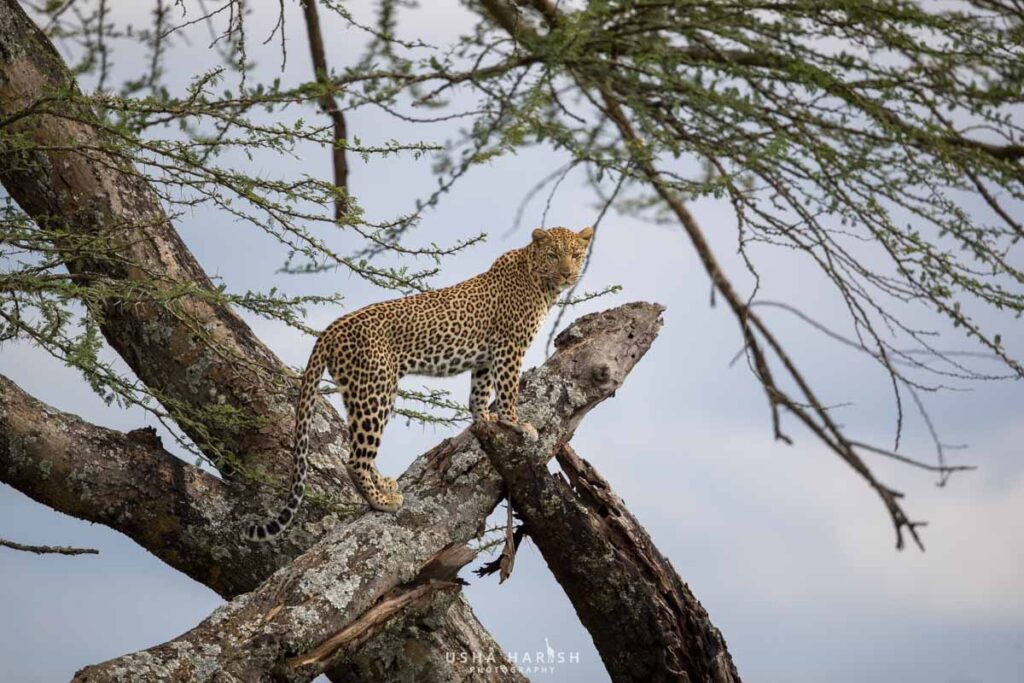
- “I didn’t get a leopard yesterday. Is there a known sighting area we should revisit?”
- “I need the river crossing — what’s the crossing likelihood for today?”
- “I want to shoot with the sun directly behind me at first light — which direction should we drive?”
The Result
Your guide stops being only a driver and becomes an active creative collaborator.
Mistake 06
Treating Every Drive the Same — When Morning and Afternoon Need Different Thinking
Strategy
Morning and afternoon drives in the Mara are completely different photographic assignments.
Photographers who approach them the same way lose half the opportunities available during the safari.
Morning Drive Priorities
Morning Conditions | Best Opportunities |
Warm directional light | Dramatic predator portraits |
Crisp visibility | Long-distance wildlife scenes |
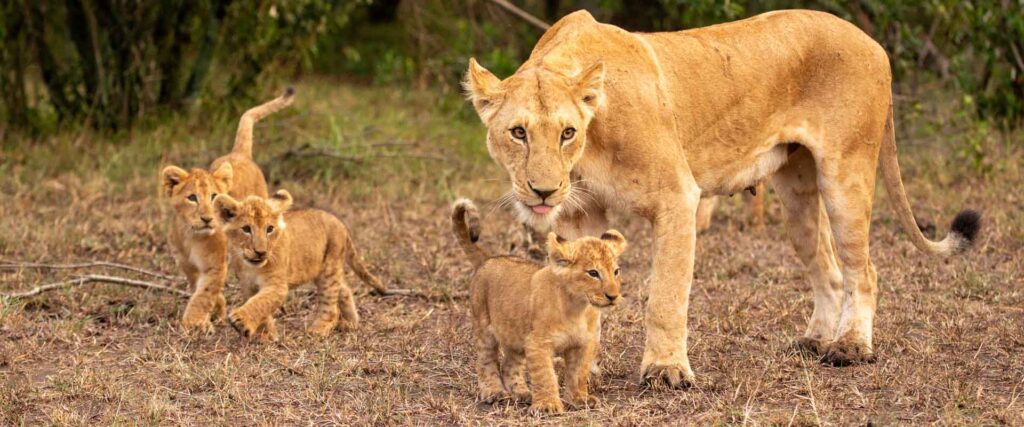
Active predators | Hunts, mating, cub activity |
Cooler temperatures | Higher behavioural activity |
Afternoon Drive Priorities
Afternoon Conditions | Best Opportunities |
Softer golden light | Environmental storytelling |
Dramatic cloud build-up | Landscape photography |
Herbivores moving to water | Herd movement compositions |
Sunset backlighting | Silhouettes and dust scenes |
The Fix
Treat:
- Morning drives as action and portrait sessions
- Afternoon drives as storytelling and atmosphere sessions
Different drives require different:
- Lenses
- Framing styles
- Camera settings
- Creative goals
Mistake 07
Leaving Without Reviewing Your Images With Your Guide
Review
Every evening, you have access to one of the most valuable post-processing tools available to you on a Mara tour — and almost no photographer uses it. Your guide. The person who was sitting next to you when you fired those 400 frames.
A 20-minute image review with your guide after dinner is worth more than hours of solo Lightroom editing. They can tell you what the animal was actually doing when you pressed the shutter, what you missed in the moment, what behaviour is likely to repeat tomorrow, and where your framing missed what was happening ecologically.
Why Image Reviews Matter
Your guide can explain:
- What the animal was actually doing
- Which behaviour signals you missed
- What may repeat tomorrow
- Why a moment unfolded the way it did
Make This a Daily Habit
Every evening:
- Open your best 20 frames
- Review them with your guide
- Ask questions about behaviour and timing
- Understand what worked and what didn’t
Questions Worth Asking
- “What behaviour was building before this moment?”
- “Did I miss any interaction here?”
- “Would this behaviour likely repeat tomorrow?”
This process improves your field instincts dramatically faster than editing alone.
What to Do Differently — and How We Build These Corrections Into Every Mara Siligi Tour
Knowing the mistakes is the first half. The second half is having a tour structure that actively prevents them. At Mara Siligi Camp, every photography tour is designed around these exact failure points. Our Masai Mara photography tour packages are built specifically for photographers who want better positioning, stronger storytelling opportunities, and a more photography-focused safari experience.
How Mara Siligi Builds These Corrections Into Every Photography Tour
Tour Feature | Why It Matters |
Pre-tour gear briefing | Helps photographers pack correctly |
Guide briefings before every drive | Aligns wildlife goals and creative intent |
Small groups (4–8 photographers) | Better vehicle positioning flexibility |
Evening image review sessions | Accelerates photographic learning |
Photography-first drive timing | Maximises golden-hour shooting |
24-hour charging access | Supports high-volume shooting workflows |
Ongoing creative guidance | Keeps every drive photography-focused |
Photography Tour Insights at a Glance
Statistic | Detail |
100+ | Photography tours led in the Mara |
7 | Common but fixable photography mistakes |
4–8 | Photographers per group — intentionally small |
What to Look for in Masai Mara Photography Tour Packages
Choosing the right tour is the difference between a gallery-worthy portfolio and a hard drive full of “almost” shots. When comparing Masai Mara photography tour packages, ensure they include these three non-negotiables:
- Customized Vehicles: You need 360-degree visibility and low-angle capabilities. Our packages prioritize vehicles with side-flaps and roof hatches designed specifically for photographers.
- Expert Positioning: A standard safari guide looks for the animal; a photography guide looks for the light and the background. Our guides understand the “bokeh” effect and animal behavior to predict the next big moment.
- Small Group Sizes: To avoid “elbowing” for space, our tours limit the number of photographers per vehicle, ensuring you have ample room for long lenses and beanbags.
Final Thought
The Mara is one of the most photographically extraordinary wildlife destinations on earth. You owe it to yourself — and to the 30-plus hours of flights it takes to get there — to not waste a single golden-hour drive on mistakes that could have been avoided on day one.
The best Masai Mara photography tour packages are not just about sightings. They are about preparation, positioning, timing, storytelling, guide communication, and understanding how to fully use the opportunities the Mara gives you every single day.
Come prepared. Brief your guide. Stay curious after the sighting ends. Review your images every evening. These four habits alone will put you ahead of 80% of photographers who visit the Mara each season.
Ready to join a pro-level Masai Mara photography safari?
Join a photography tour where every drive, every seat, every guide briefing, and every evening review is designed around helping you create the images you came for.
FAQs
While the Great Migration (July to October) offers high-octane action, the “Green Season” (November to May) provides stunning dramatic skies and newborn animals, which are perfect for artistic wildlife photography.
We recommend a versatile setup: a long telephoto lens (400mm to 600mm) for close-ups and a wider zoom (70-200mm) for environmental portraits that tell the story of the landscape.
Absolutely. We’ve led over 100 tours helping everyone from hobbyists to professionals. Our on-field coaching helps you master your manual settings in real-time